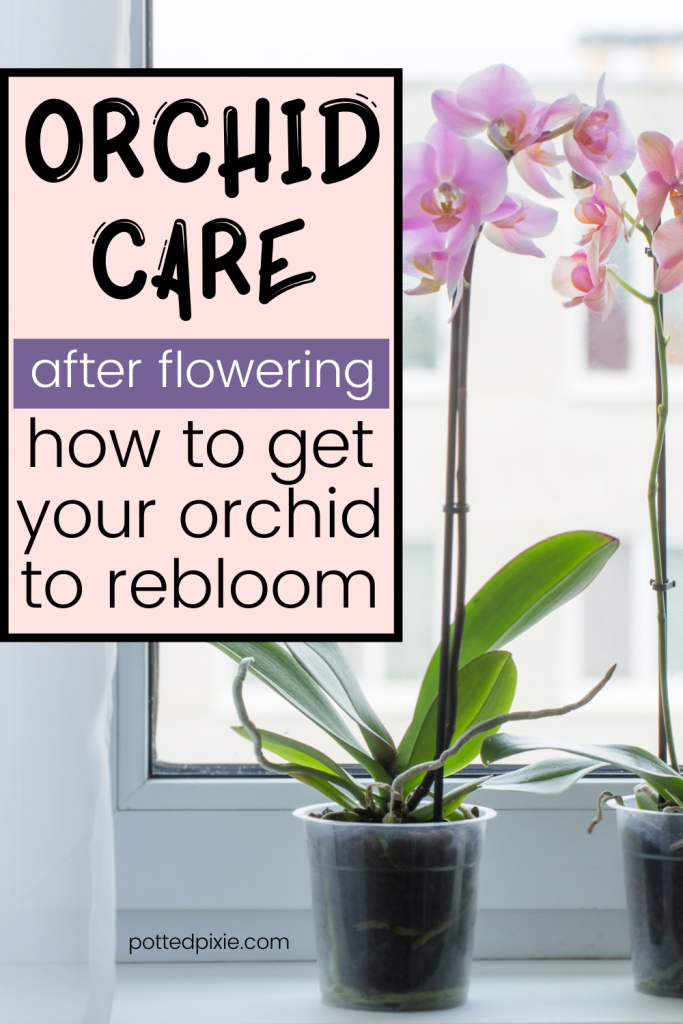
If your orchid stems are turning brown and the flowers are starting to fall off, don’t panic, it’s not dead! Your plant is still very much alive.
(If you have other symptoms like mushy roots or yellowing leaves, your orchid might be dying and you’ll need to revive it).
There are certain things you can do to care for your orchid after the flowers fall off and how to get it to rebloom consistently.
Phalaenopsis orchids are a hardy variety (and the most commonly purchased in North America) and can last for many years.
The very first one I owned rebloomed after four years and kept its flowers for about 5 months.
Since then, I’ve learned a few more tricks to help them flower much faster than that. Because, no one’s got the patience to wait another 4 years in between these beautiful bouquets of pure happiness.
This post contains affiliate links, which means I may make a small commission if you click through and make a purchase.
What Happens When an Orchid is Done Blooming?
Just like many other plants that flower, your orchid will bloom for a while and then it will enter into its resting period.
When the stem starts to turn yellow, the flowers will start to droop, wilt and eventually fall off.
Just as the flowers bloomed one by one, they will fall off at their own pace. This will occur over the course of about a week or two.
Phalaenopsis orchid flowers fall off when the plant finishes its blooming cycle and it enters its rest stage.
In this phase of its life cycle, it needs to direct all of its energy to the root system to keep it alive, healthy and prepare for the next round of producing gorgeous flowers.
The orchid resting period is a time where the plant stores up its energy in anticipation of producing another round of flowers, or reblooming.

Orchid Care After Flowers Fall Off
Once all the flowers have dropped, the best thing you can do for your orchid is to cut the tall ‘spike,’ move it to a cool spot, and keep it healthy.
How to Cut Back an Orchid After Blooming
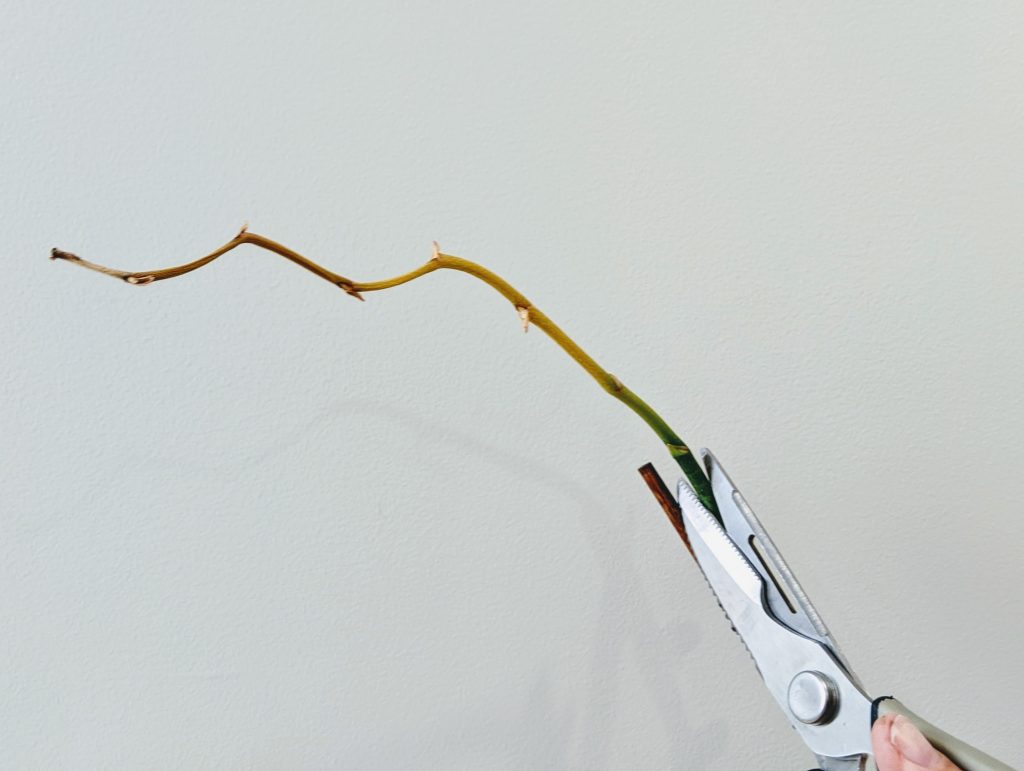
Use clean and sharp pruning shears (stainless steel is best).
Ensure it is very clean (ideally sterilized), as you don’t want to introduce foreign matter or extra bacteria to your plant.
First, observe your flower spike or stem after the flowers have all dropped.
If it’s a nice bright green color and decently solid, cut it back just below where the last flower was. This will be above the highest joint, which is called a node.
If it’s a healthy spike, it’s possible that another set of flowers could grow here.
As long as the spike is healthy and stays that way, the plant doesn’t need to use a lot of energy to grow a new spike. So this could mean a faster rebloom.
It really depends on the orchid. Sometimes I’ve had flowers grow back faster on an old spike.
Other times a spike will end up withering away, even though it had appeared to be in good shape.
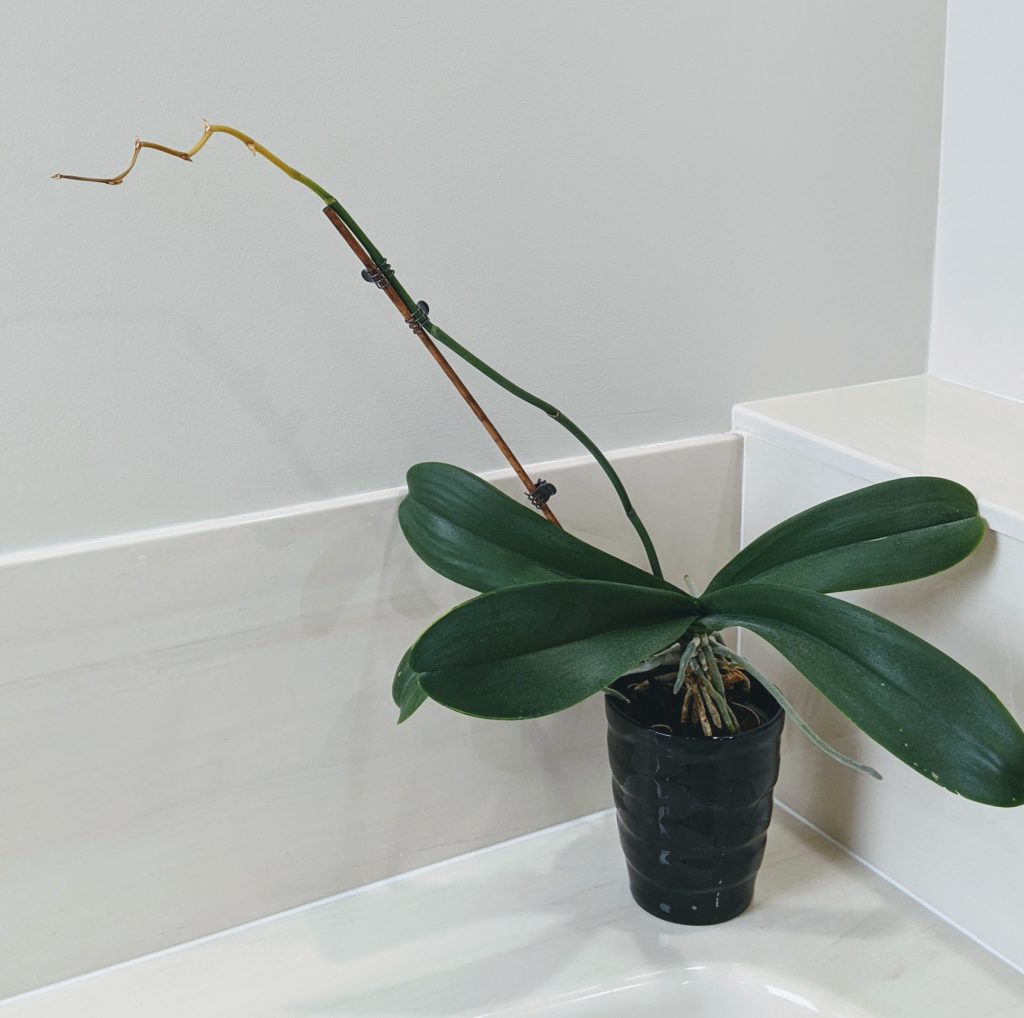
Keep an eye on this spike, though – if it starts to turn brown at all, you’ll have to cut it back even further.
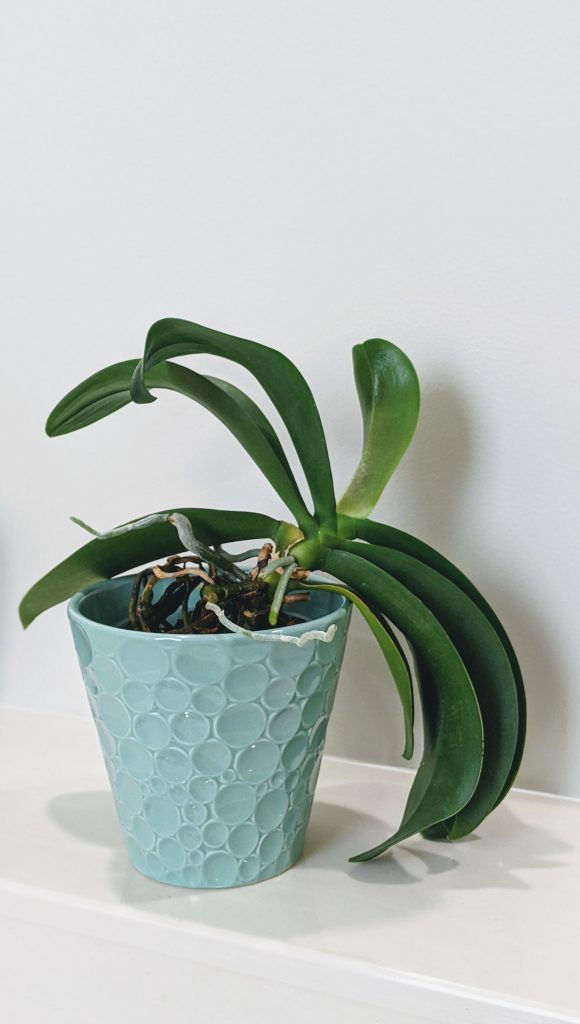
If you’re new to raising orchids, you might want to try cutting the spike off at the base of the plant anyway, and allow it to focus on its vegegtative growth. Especially if it’s in its first cycle of blooming.
This takes the guessing game away from the plant, and then it can focus on keeping its roots healthy, which is the foundation of your plant.
If you have a yellow or brown spike, you will need to cut it back all the way to the base of the plant.
When it’s this color, the stem is in the process of dying, and flowers won’t grow back on it.
How to Care for Your Orchid in its Resting Period
Now that the orchid has finished blooming and you’ve cut back the stem, it’s time to let it enter its resting phase.
This is where the plant will regenerate, collect sunlight and water and eventually build itself back up again to produce stunning blooms.
One of the most important factors in orchid reblooming is to find the perfect amount of sunlight.
Diffused, bright light is the ultimate goal here.
Putting your orchids directly in front of a window is usually not a good idea, as the direct sunlight will almost always scorch the leaves.
But, this can be easily combated by putting a protective film over your window.
I have several orchids in my bathroom with a west facing window (super bright all the time) so we covered the window in this opaque film, and my orchids have never been happier.
If you still want to see out of your window, you can cover it with a UV protection film, which blocks the direct heat and produces a similar feeling of diffused light for your orchids, while still allowing you to see outside as normal.

How to Make Orchids Rebloom
Once the flowers fall off, with proper care and conditions, your Phalaenopsis orchid should rebloom in 2 to 3 months.
There are several things you can do to get your orchid to rebloom after the flowers fall off.
Move Your Orchid to a Cooler Spot to Trigger Dormancy
One of the best tricks to rebloom your orchid is to move it into a cooler area, about 10 degrees lower than where it’s been living.
This mimics the natural signal that it would normally get in the wild that the blooming season is finished and it’s time to work on the next phase of blooms.
If you live in a cooler climate (like me in Canada) place your orchid next to a window. As the outside temperature drops, the cooler, drafty air coming through should be enough to trigger this signal.
If the temperature doesn’t fluctuate much where you live, taking your orchid outside and letting it sleep on the porch for a couple of weeks should do the trick.
Monitor How Much Water it Needs
Continue to water, but keep an eye on the roots to determine whether it needs water or not – it may not be a perfect schedule.
If they’re looking a little dull, give it some water. Another trick is to lift the orchid – if it’s light and airy feeling, time for some water.

If it’s still heavy or the roots are almost turning yellow, no more water!
Here’s a tip to help you avoid over-watering – just mist the base of the plant every few days. This is an easy way to keep it moist without any chance for overwatering.
Orchids like a little humidity.
Place your pot on top of a saucer with pebbles. You can keep water in the bottom of the saucer and this will help produce a little extra humidity around your potted orchid.
Fertilize Sparingly
You may also continue to fertilize your orchid about once a month or every six weeks. And if you forget a feeding, don’t worry.
Less it more when it comes to fertilizing orchids.
I recommend the Better Gro product and to stay away from mass produced Miracle Grow fertilizers.

Blooms Baby!
As you can see, there is a bit of a system for caring for orchids after flowering, but once you get the hang of it, you should be graced with orchid blooms at least a couple times per year.
With a little observance, care and love, good things will happen. And once you get your orchid to rebloom again, you’ll want more and more…and more…
Have you had success with getting your orchids to rebloom? Any tried and true tips that have helped you? Let me know in the comments what works for you!
Stay Green!
>> Read Next: 12 Pink Houseplants to Add Brilliant Blush Vibes to Your Home
More Orchid Posts:
Piccola Orchid Care Made Easy: Make Your Mini Orchid Thrive
How to Make Orchid Soil in 7 Easy Steps
How to Propagate Orchids from Aerial Roots in 6 Easy Steps


I enjoy reading your comments how to grow orchids, I have a query with an orchid that has been scorched that I had too close to a north facing window, all the leaves went a light yellowing, what can be the solution to saving my phalaenopsis,? I have placed in a cooler place as it is Spring now.
Regards
Maria
Hi Maria, yes, the first step is to move it away to a cooler spot. The scorched leaves will not turn back to green, so you’ll have to remove those as long as there are a few leaves that are still healthy. Keep it in its new spot and monitor!
In your last post you recommended miracle Gro for misting but in this post you say to stay away from miracle grow. Which is accurate?
Hi AJ, the Miracle Gro fertilizer is okay to use, but I recommend staying away from Miracle Gro substrate and potting soils mixes. Hope that clarifies!