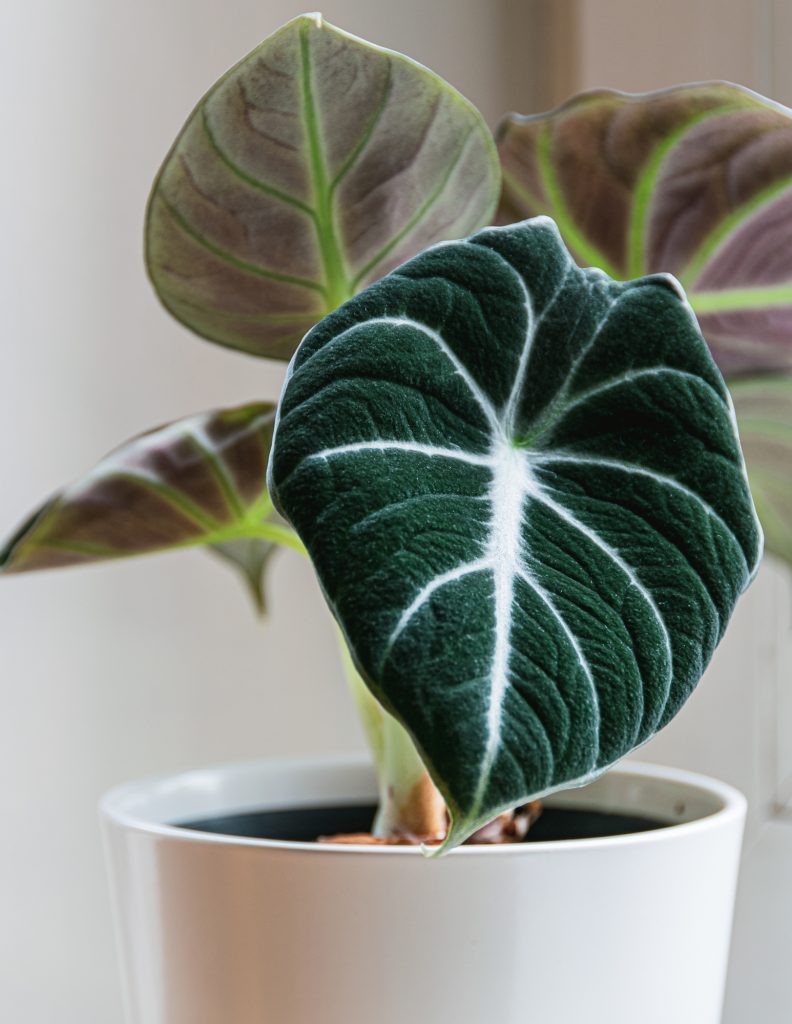
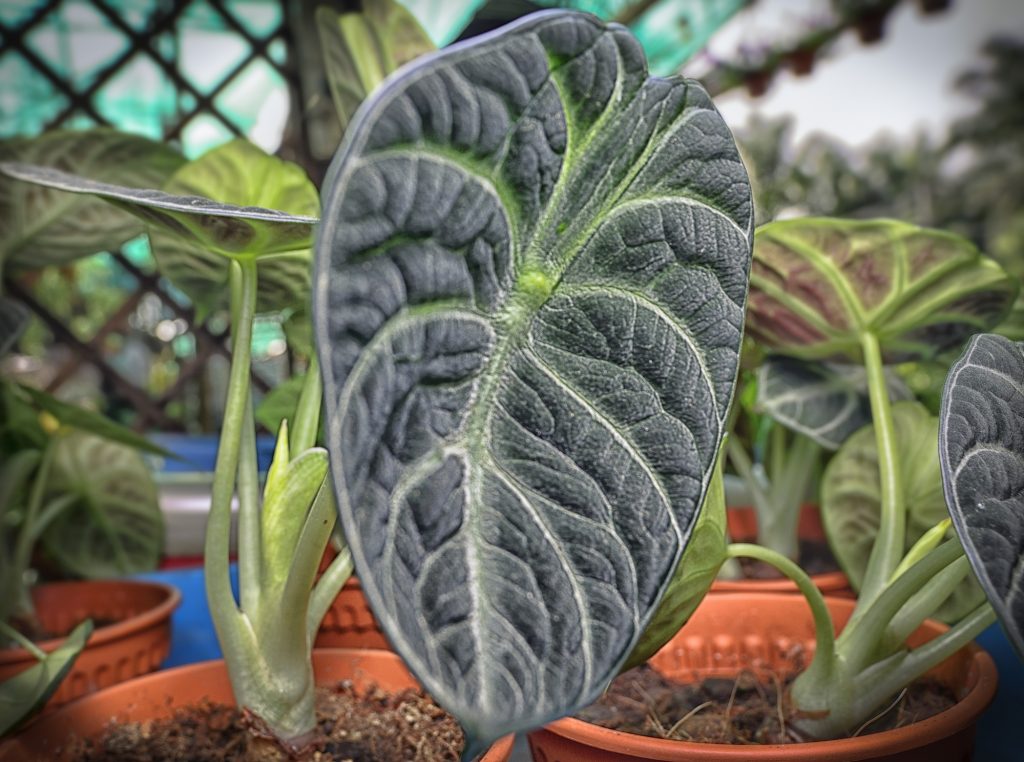
It’s no secret that alocasia black velvet plants are one of the most popular houseplants in recent years. Their dramatic, glossy leaves and unique shape make them a perfect addition to any room.
It’s important to know how to care for alocasia plants, but luckily we’re here to help!
In this article we will cover everything you need to know about how to specifically care for your black velvet including watering requirements, how much light they need, the best location in your home and more.
We’ll even provide some common problems that people might encounter with alocasia plants and offer tips on how they can be avoided.

This post contains affiliate links, which means I may make a small commission if you click through and make a purchase.
How to Take Care of the Alocasia Black Velvet: Quick Facts
- Ease of Care: intermediate category. If you have experience with humidity-loving tropical plants, this is a great one to add to your collection.
- Water: requires monitoring & water when soil is dry one inch down
- Light: bright, indirect light. Not enough and it will grow long and leggy. Too much and the leaves will curl, dry out and develop scorch spots.
- Temperature Requirements: average to warm room temperatures 65-85 degrees Fahrenheit (18-29°C).
- Soil Conditions: Chunky potting mix that drains well; fertilize during growing season with a balanced fertilizer.
- Propagation Methods: by dividing the rhizomes.
- Common Problems: alocasia black velvet is prone to root rot; you’ll need a fine balance of humidity and water levels.
- Pests & Diseases: watch out for spider mites and fungus gnats!
- Tips and Tricks: the black velvet plant does not like to be moved. Be sure to acclimate it slowly after repotting or relocating the plant before expecting any new growth.
As you can see, caring for your alocasia black velvet as an indoor plant is very similar to most other aroids and tropical plants.
The most important things to keep in mind will be the soil mixture, humidity and water levels.
Let’s go into details about how to provide perfect living conditions for your alocasia.
How Often Do You Need to Water the Alocasia Black Velvet?
Watering alocasia black velvet plants is pretty straightforward, but it can be easy to get this wrong.
You want to make sure the soil never dries out completely or becomes soggy either.
If you’re unsure how often you should water your black velvet, err on the side of too little rather than too much until you have a better idea of how it responds to being watered.
The amount of water your black velvet needs will depend on how much light, warmth and humidity it’s getting.
Keep in mind that the amount of water it needs will also depend on the season. Since black velvet alocasias go dormant in the cooler months, it will need much less water compared to the growing season (spring to summer).
Ideally, you’ll want to water it when the soil feels dry about one inch down.
This type of alocasia does not like to be left to completely dried out, but you also want to avoid soggy soil. Soil that’s been left wet for too long is a breeding ground for fungus gnats, or even worse, root rot.
It’s easy to accidentally overwater alocasias since they are considered ‘tubers’ which means they have rhizomes under the soil that actually retain a bit of water. If you’re unsure if it needs water or not, also assume it doesn’t and then check again in a day or two.
Make sure the pot has plenty of drainage holes so that excess moisture is able to flow through it freely.
Alocasias do really well in LECA if you’re having trouble with pinpointing how much water it needs.
The clay pebbles can help modulate how much water the roots are receiving.
Humidity Requirements: Should You Mist the Alocasia Black Velvet?
The black velvet absolutely needs a humid environment (ideally 65% or more), and misting should not be the only way you provide humidity.
For this plant to survive, your home (or spot in your home) should be draft-free with humidity levels between 65 – 70% or higher if you want it to thrive.
A small room humidifier (I like this one) will do the trick just fine, or you can keep this plant in your bathroom if you’ve got the appropriate amount of light.
It’s also very helpful to group this plant together with other plants that also need high moisture.
If you do mist your plant, don’t allow water to collect and sit on the leaves to avoid any potential rot or burn.
How Much Light Does the Black Velvet Alocasia Need?

Black alocasias like bright, indirect light. To achieve that deep, dark green color on the leaves, you’ll have to give it plenty of sunlight.
When your alocasia is not receiving enough light, it will elongate and become weak.
If you notice the leaves on this alocasia turning yellow or pale green in color, move it to a brighter location with indirect sunlight immediately!
Keep in mind that black velvet alocasias prefer filtered sunlight rather than direct sun exposure which can cause it to scorch or burn.
If it’s not getting enough light, you may also notice that new leaves are smaller and more pale in color compared to older ones which is a good indication that this alocasia needs more light!
Do Black Velvet Alocasias Like Grow Lights?
In addition to bright indirect sun exposure, alocasias can thrive in low-light conditions provided you use a grow light.
If you want to use a grow light, just ensure it’s about one foot from the alocasia at all times, and used for at least 8 hours per day.
Where to Place in Your Home
As alocasias can grow up to about four feet, you’ll want to make sure it’s in a space where there is room for growth.
If your green baby has begun to grow tall and leggy this means that it needs more light exposure if possible! You should keep in mind that alocasia plants prefer bright indirect sunlight but do not like direct sun.
Avoid placing them near a window that gets hot afternoon or evening sun as it can burn the alocasia leaves easily.
Placing this plant near windows with a draft will cause it to dry out as well. An east or southeast spot in your home is usually best.
What Type of Soil Does it Need?

An alocasia potting mix should be rich and loose. Potting soil that is too dense will cause it to become root-bound which can lead to stunted growth and death in some cases.
Ideally, you should use a mix of bark, charcoal, coco peat/coir and perlite. You’ll want the orchid bark and perlite ratios to be a little more than the other substrates.
If your home is more warm and dry than ideal, you can place a layer of sphagnum moss on top to help it retain a little extra moisture.
How to Propagate Alocasia Black Velvet
These alocasias can be propagated by dividing the rhizomes (small potato-like bulbs underneath the surface) and not by taking cuttings.
Alocasias are easy to divide by hand. Simply remove the alocasia plant from its pot and gently massage the root base to separate it into smaller pieces with at least one set of leaves each.
Plant these new alocasia plants back in their pots close together, making sure that they’re not overcrowded!
Can You Make Black Velvets Grow Faster?

In general, alocasias are considered fast growers, even if it doesn’t appear this way. This is because they also shed their older leaves every few months.
So while it may seem like it’s not making any headway, as long as it’s producing new leaves, this is a sign of a healthy plant.
If your alocasia black velvet isn’t growing quickly enough you can fertilize it every every few weeks during the warmer months with a liquid fertilizer that’s high in nitrogen.
Make sure to dilute it though! Alocasias are sensitive to too much fertilizer.
What Happens When an Alocasia Black Velvet Flowers?
An alocasia that produces a flower means it’s happy, healthy and living in optimal conditions. Don’t change a thing!
That being said, the flowers on the black velvet are not ‘showy’ so there’s no need to keep them around. This is just a signal to you that you’re doing an excellent job in providing a great home.
I recommend cutting the flower off so that the plant can use its energy to continue to grow big healthy leaves.
Common Problems, Questions and Troubleshooting

Why is my Black Velvet Alocasia dying?
The biggest issue most people face with their alocasias is not enough humidity.
When it lacks a humid environment, it starts to dry out and look lifeless. A warm spot in your home with plenty of humidity should bring it back to life.
One of the most common traits of these plants are older, mature leaves that fall off to allow growth for new ones to sprout.
While the plant is going through this process it might seem like it’s dying, but chances are it’s just shedding some old growth.
This usually happens when it goes dormant and it’s known as the alocasia’s ‘ugly phase.’
At this point, significantly cut back the watering to avoid rot – especially if it’s in a lower light area.
When Yellow Leaves Mean Not Enough Light
If your alocasia black velvet is growing in too low-light of an area, it might start to appear pale and yellow.
When alocasias are not getting enough light they usually turn very pale or even yellowish green.
This can be fixed by simply moving it to a brighter location that gets more sunlight and then feeding with liquid fertilizer to help kickstart it back to health.
As long as the roots are healthy, you can even cut back all the yellow leaves/stems down to the soil and the plant should produce brand new darker green leaves after a couple months.
When Yellow Leaves are a Sign of Root Rot
If all your leaves and stems have turned pale-yellow and it appears limp and lifeless, check for root rot.
You’ll have to uncover the roots from the soil (gently with your fingers). If you find yellow, brown or black roots that are mushy, this is root rot.
Remove the plant from the soil, cut off any dead roots and let the remaining roots and rhizomes dry out for a couple of days.
Leaves are Curling or Drooping
If your black velvet’s leaves are starting to curl inward and accompanied by a crispy feel, it isn’t getting enough moisture and is likely getting too much sun.
If you’re noticing crispy edges that look almost burned, this is usually caused by too much fertilizer. Dial back the fertilizer for a while and use only distilled water for the next few weeks to flush everything out.
If your leaves are curling but looking a little more droopy, thoroughly check for pests.
Spider mites, aphids and mealybugs can do lots of damage before you notice them.
Spider mites are one of the most common issues with alocasias since they thrive on plants that aren’t getting enough humidity. Check under the leaves for thin white webs or little spots that look like cotton.
You’ll have to use a combination of rinsing off the plant with soapy and spraying it with neem oil to kill off the bugs.
You can read more in depth about how to get rid of mealybugs here.
Visit my Houseplant Toolbox for a list of all my favorite supplies & goodies!
Stay Green!

